FIRST THING TO DO AFTER ASSEMBLING THE WATCHX
Some of our users get confused after assembling the watchX in terms of how to use it. In order for you to have the best out of watchX, we wanted to share an informative post about what to do after assembling the watchX.
watchX is a smartwatch that encourages our users to be a maker and coder. Hence it is designed with this intention in mind. That is why once you assemble the watchX you are greeted with a firmware that makes the first introduction into watchX but not settles afterward. You need to code the watchX or install firmware in order watchX to function.
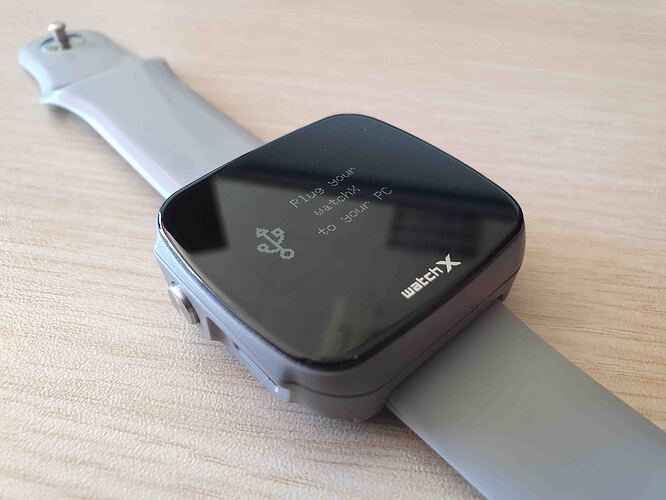
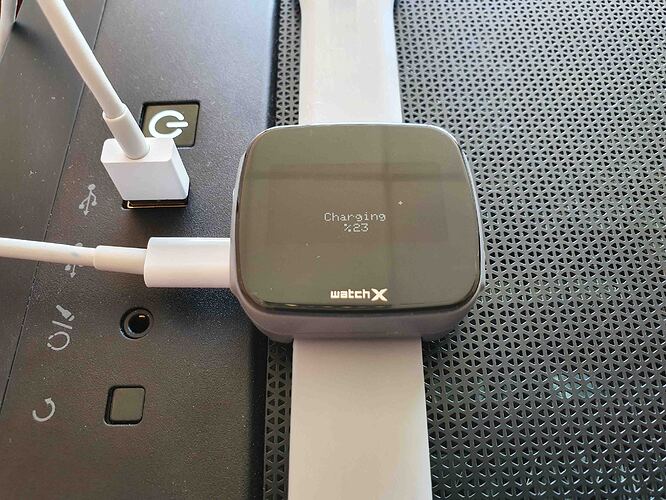
Once you assemble the watchX, this is the first screen you will face. Please plug the watchX into a PC with the provided USB cable. If you try to charge the watchX with a wall adaptor, watchX won’t recognize the wall charger and show you the charging indicator.
Once you start to charge you will see a display as below. Please wait till the watchX charges till %100. Once charged un-plug the watchX.
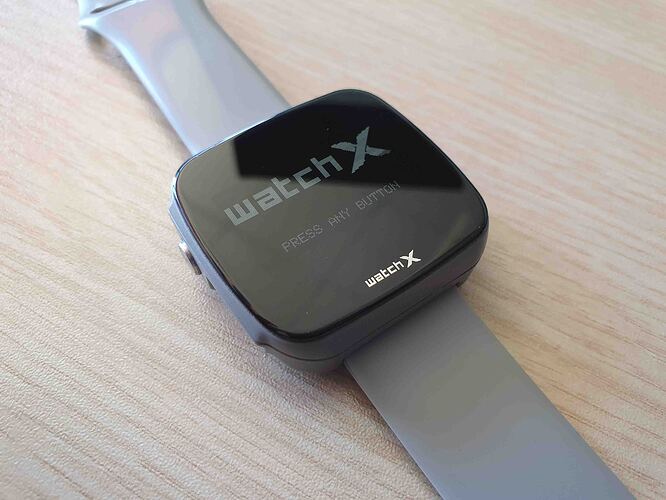
After that, press and hold to the button on the top left of the watchX. Wait for 3 sec. Once the watchX boot up you will see a display as below. Follow the instructions on the display.
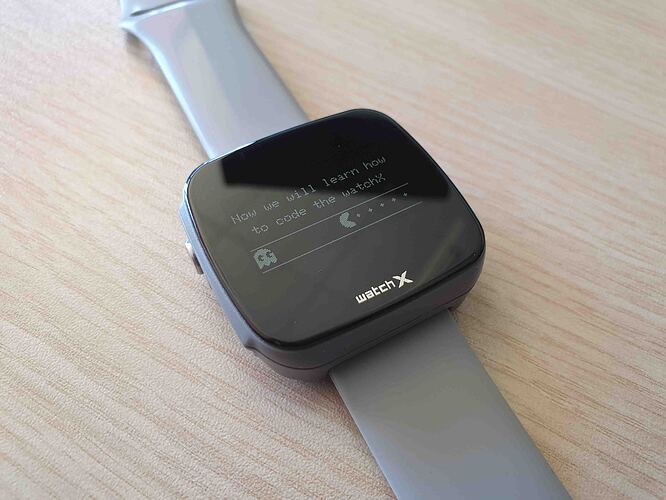
After that greeting firmware will end in an animation as below. After this point you need to connect the watchX into a PC and start to code watchX or upload a watch firmware. Please don’t expect any interaction afterwards.
For the next step, you can visit http://lms.watchx.io and register in order to browse coding courses. Or you can upload a watch firmware.
In order to upload a watch firmware you can choose a watch firmware from this link: watchX Watch Face Collection and follow the instructions about how to install a watch face to your watchX from this link How to upload watch faces to watchX?.
Please post below this post for any kind of help:)
Happy coding!


