In this series, my goal is to give a general idea about 3D printing. To do that, I will explain the inner-workings of different 3D printing methods and tell about their limitations and advantages over one to another.
But, before dwelling on that topic, I think we should learn about 3D Design and Printing workflow.
1- Design
We will discuss this topic in the future in great detail. But to produce a 3D printed model, you should have a model at the first place 
The main method for obtaining a 3D Model that suits your own requirements is to design them. CAD (Computer Aided Design) software are really powerful nowadays. You can learn and use a CAD software of your choice. Or you can use a mesh-based 3D modeling software.
The other method is to get your 3D Model files from another source. There are websites like GrabCAD, Thingiverse etc… You can download a model from these sources and print right away. (But make sure that the design is “printable”)
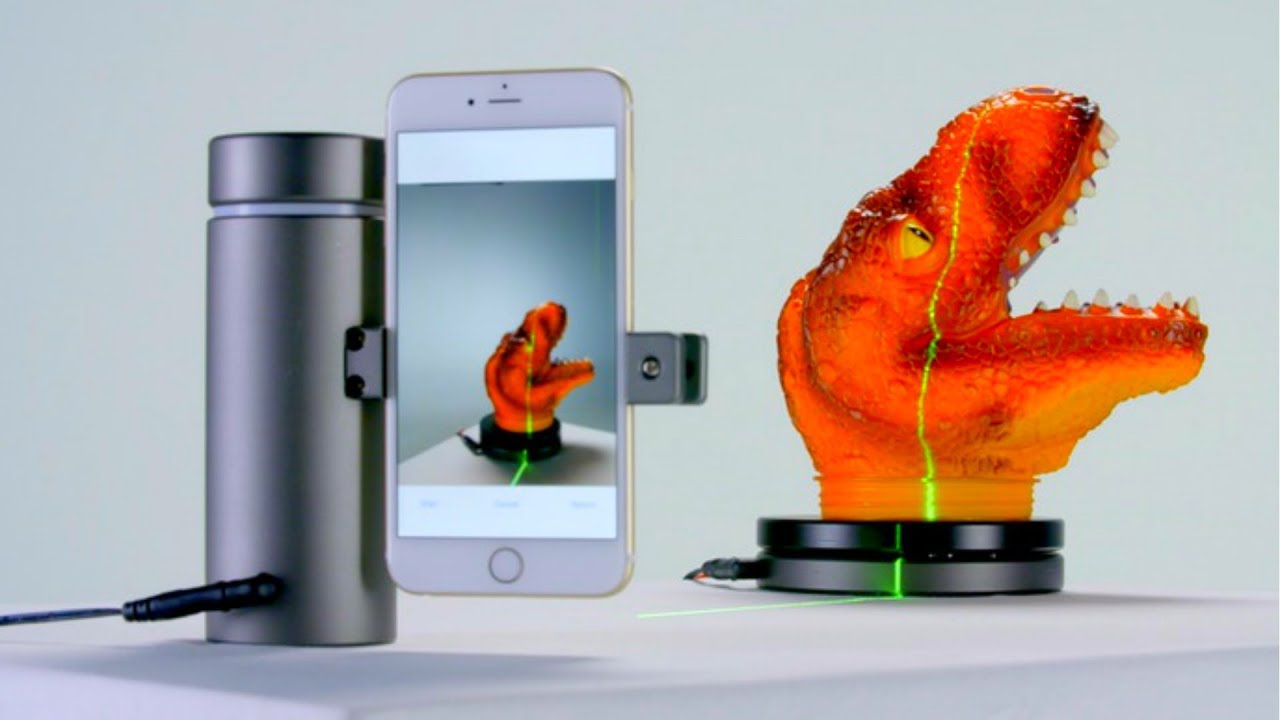
Or, you can 3D scan an object you like to duplicate literally. But this method can require some mesh modeling to obtain a watertight mesh model.
2- Getting your printable files
Ok, we got the model. Whether we have designed it ourselves or downloaded a project. Now what?
To “print” our files, we must convert our 3D Model files into a format that our 3D Printer can understand. Most of the 3D Printers are basically some sort of CNC Robots, they usually understand and talk in G-Code language.
These code files include some specific instructions for your machine to follow. Like, printing temperatures, material extrusion rate, printing speeds, gantry position etc… This is the definition of the model that is going to be printed in your machine’s language.
And most of the 3D Printers come with a “slicing software” this software is responsible to convert your 3D model into G-Code files. You can adjust print speed, temperature and many different parameters with these slicing software. One of the best in this area is the Cura for Ultimaker.
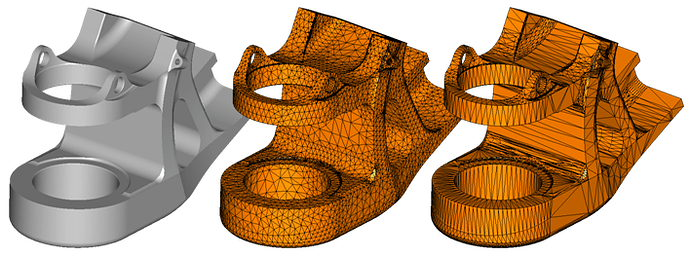
The slicing software generally accepts *.stl or *.obj file types. So, you have to convert your models from your CAD format into this file formats. I personally recommend *.stl because it is widely accepted by slicers. Generally, 3D Design Software has an Export or Save As function. You can obtain the *.stl version of your design easily.
The *.stl files have to be watertight to be printable. And they also have a resolution. Think of this as vector drawing vs pixel drawing. Check your resolution while converting for the best quality printing.
3- Printing
We got the model, we have converted into the language that our machine can understand and now the fun part…
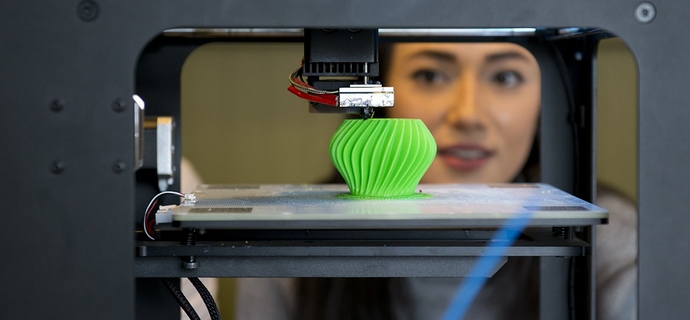
Just send your code to your machine and let the marvel happen. This can be done by USB, SD cards or even wirelessly depending on the type of your machine.
Do not tamper with the machine while printing. 
And when the printing is done, remove the part from the machine. Follow the instructions of your machine. Do not injure yourself, be careful 
4- Post processing
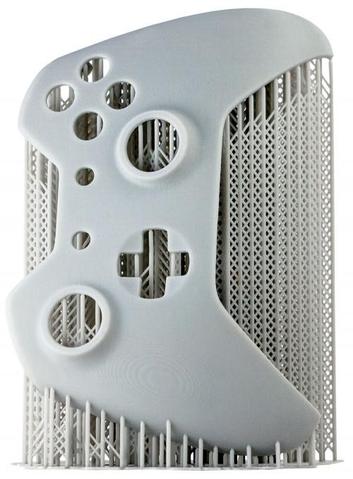
The prints can have some supporting structure depending on your machine and design method. First, remove them and clean the part. If that is enough for your application then that is good, you can use the parts right away. If you want to alter the look of your parts, I will explain some very neat methods on another topic.

In the next topic, I will continue to explain about FDM printing method.


